
What is Self-Leveling Cement?
Introduction
Uneven floors can lead to cracked tiles, gaps in vinyl planks, and flooring that doesn't last as long as it should. In many cases, the problem isn't the flooring itself, but the uneven surface beneath it. Even minor dips and humps can affect how well your new flooring looks, performs, and lasts over time.
So, what is leveling cement, and why is it often recommended before installing new flooring? This guide explains what self-leveling cement is, when it's needed, how it works, and how to apply it correctly so you can achieve a smooth, long-lasting flooring installation that's worth your investment.
What is Self-Leveling Cement?
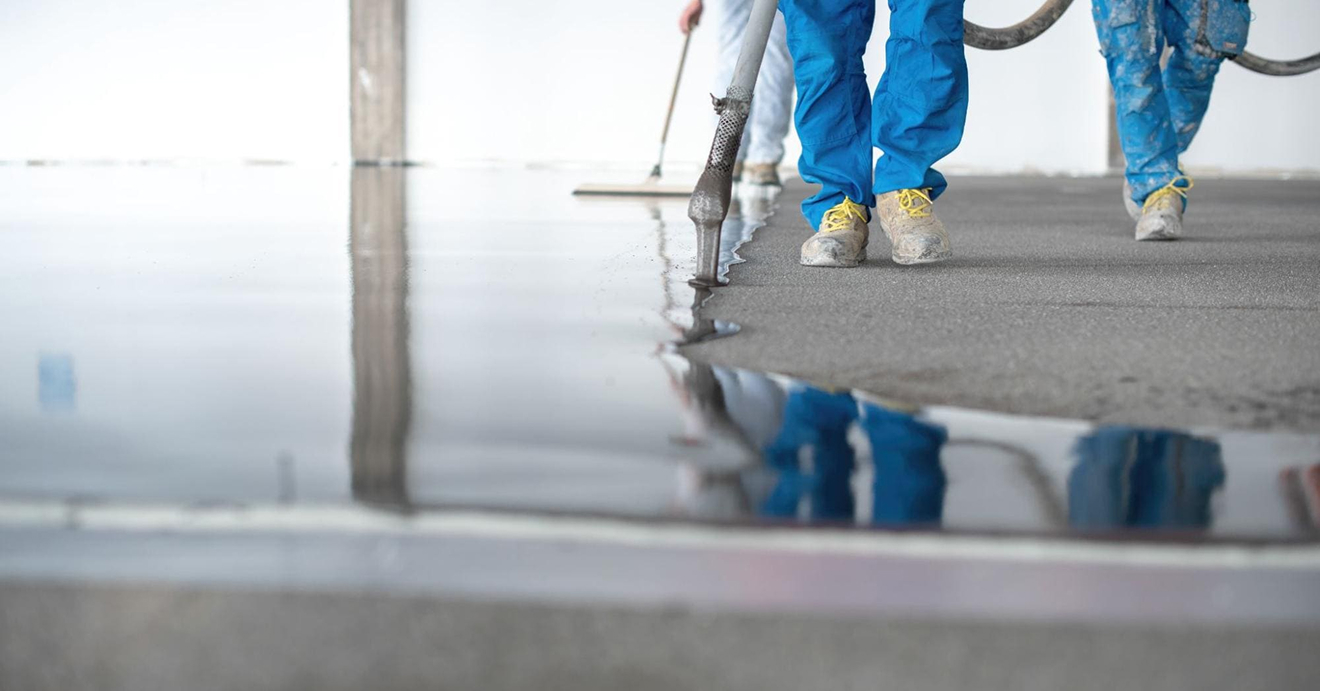
Self-leveling cement, also known as leveling cement or self-leveling compound, is a cement-based material designed to flow across a floor surface and settle into a smooth, level layer under its own weight.
Unlike traditional cement or sand-cement screed, which is a manually applied layer of cement used to level and smooth concrete floors, self-leveling cement is simply mixed with water and poured onto the subfloor. It naturally spreads across the surface, eliminating the need for extensive spreading and trowelling.
Where Can Self-Leveling Cement Be Used?
Self-leveling cement is commonly used in:
- Flooring Installation: Creates a smooth, level base before installing vinyl, SPC, tiles, laminate, engineered wood, and other floor finishes.
- Renovation Projects: Ideal for repairing uneven concrete floors after old flooring has been removed, especially where adhesive residue, cracks, or surface imperfections remain.
- New Builds: Corrects uneven concrete slabs that do not meet the flatness required for the intended flooring material.
- Commercial and Industrial Spaces: Commonly used in offices, retail stores, warehouses, and other high-traffic areas that require a durable, level subfloor.
How Does Self-Leveling Cement Work?
Self-leveling cement gets its "self-leveling" behaviour from its formulation, not from any special application technique. Here's what's actually happening:
- Fine cement particles and polymer additives give the mixture a much more fluid consistency than standard screed, closer to a thick batter than a paste.
- Flow modifiers reduce the internal friction between particles, allowing the mixture to spread out evenly across the floor once poured, filling low spots and settling around high spots.
- Gravity does the leveling. Once poured, the compound naturally seeks its own level, similar to how water spreads across a flat surface, which is why minimal manual spreading is needed compared to traditional screed.
- Fast-setting binders allow the mixture to firm up within a defined working window, typically 20 to 70 minutes depending on the product, before it's ready for light foot traffic within a few hours.
Benefits of Using Self-Leveling Cement
- Creates a truly flat surface: Fills dips, smooths out humps, and eliminates uneven areas that could show through the finished flooring.
- Extends the lifespan of your flooring: A level subfloor reduces stress on the flooring, helping prevent cracked tiles, lifted vinyl seams, and gaps in click-lock flooring over time.
- Faster than traditional re-screeding: Self-leveling cement can typically be walked on within a few hours, while a conventional sand and cement screed often takes several days to cure.
- Reduces installation issues: Proper subfloor preparation is essential for vinyl flooring and SPC flooring. Self-leveling cement creates a smooth, even base for a cleaner installation and longer-lasting results.
- Improves comfort and safety: Creates a smoother walking surface by eliminating uneven spots and potential trip hazards, making it ideal for both residential and commercial spaces with frequent foot traffic.
- Reduces material waste: Creates a level surface in a single application, unlike traditional screeding, which often requires overfilling and scraping away excess material. This helps minimise waste and unnecessary rework.
- Reduces labour costs: Spreads and levels itself with minimal manual work, reducing labour time and installation costs.
When Should You Not Use Self-Leveling Cement?
Self-leveling cement is a great solution for many uneven floors, but it isn't suitable for every situation. Before using it, check whether any of the following apply:
- Your floor has structural movement or foundation settlement: If the unevenness is caused by a shifting or settling foundation rather than minor surface imperfections, self-leveling cement will only cover up the issue temporarily. The structural problem should be fixed first.
- The concrete is badly cracked or damaged: Large cracks, crumbling concrete, or severe surface damage should be repaired before applying a leveling compound. Otherwise, the new layer may crack or fail in the same areas.
- There are ongoing moisture issues: If your floor has rising damp, leaks, or poor waterproofing, solve these problems first. Trapped moisture can affect adhesion and may lead to mould beneath your new flooring.
- The floor is severely uneven: Self-leveling cement works best for minor to moderate unevenness. Deep depressions or steep slopes may require a traditional screed or other structural repairs instead.
- The area is outdoors or constantly exposed to water: Unless you're using a specialist exterior-grade product, most self-leveling cement is designed for indoor use and won't withstand constant water exposure or outdoor weather conditions.
Self-Leveling Cement vs Concrete
Although both are cement-based materials, self-leveling cement and standard concrete perform very different roles. The table below explains when each is the better choice:
| Factor | Self-Leveling Cement | Standard Concrete/Screed |
|---|---|---|
| Consistency | Fluid, pourable | Stiff, needs manual spreading |
| Application | Poured, spreads on its own | Trowelled and levelled by hand |
| Typical thickness | 1mm–25mm (product-dependent) | 25mm and above |
| Setting time | Minutes to a few hours for light traffic | Days for adequate strength |
| Best used for | Fine-tuning subfloor flatness before flooring installation | Structural slabs, major elevation changes, and foundational work |
| Skill level required | Moderate; DIY-feasible for small areas | High; typically needs professional finishing |
| Cost | Generally, higher per unit volume | Generally lower per unit volume for large-scale pours |
In short, concrete and standard screed build the structural base of a floor, while self-leveling cement fine-tunes that base to a precise, flat finish. They serve different stages of the same project, not competing purposes.
Tools Needed to Apply Self-Leveling Cement
Having the right self-leveling cement tools and products helps achieve a consistent finish while making the application process easier. Before you begin, make sure you have the following essentials:
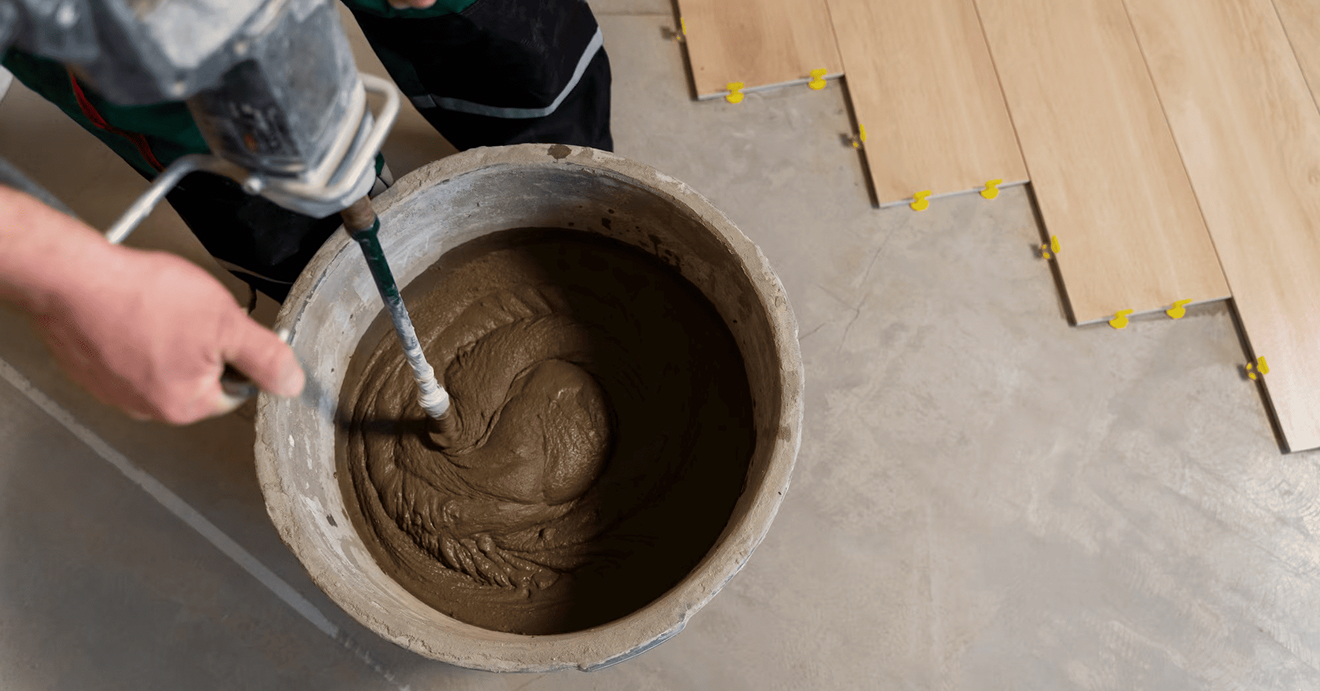
- Mixing Paddle: Attached to a heavy-duty drill, it mixes the self-leveling cement into a smooth, lump-free consistency. Avoid using a standard household cordless drill, as it may lack sufficient torque and overheat. For larger projects, a dedicated mortar mixer is recommended.
- Mixing Bucket: Sized appropriately for the batch quantity and your available working time to ensure efficient mixing and pouring.
- Roller or Brush: Used to apply primer before pouring the compound to control substrate (base) absorption and improve adhesion.
- Gauge Rake or Spreader: Helps guide the self-leveling compound into corners, edges, and other areas where the material may not flow evenly on its own.
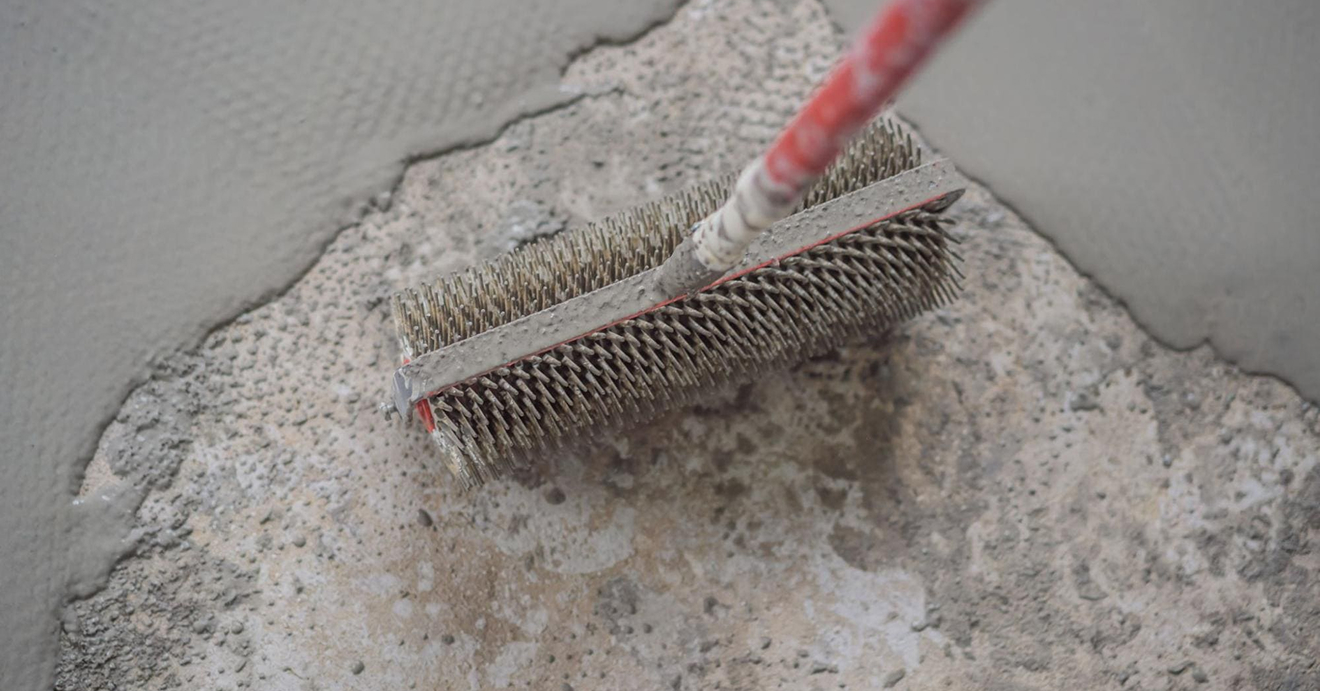
- Spiked Roller: Rolled over the wet compound to release trapped air bubbles, creating a smoother, stronger finished surface.
- Moisture Meter: Checks that the subfloor's moisture content is within the manufacturer's recommended limits before installation.
- Edge or Perimeter Tape (Foam Strips): Contains the compound within the application area and prevents leakage, which is especially important because self-leveling cement is much more fluid than traditional screed.
- Personal Protective Equipment (PPE): Wear gloves, safety goggles, and a dust mask to protect against dust and wet cement. Cement becomes alkaline when mixed with water, so avoiding prolonged skin and eye contact is recommended.
How to Lay Self-Leveling Cement
1. Inspect and prepare the subfloor
Remove old adhesive, loose material, dust, grease, and other debris to create a clean surface. Repair any major cracks or damaged areas first, then seal gaps and create temporary barriers at doorways or openings to prevent the self-leveling cement from flowing into unwanted areas.
2. Check moisture levels
Confirm the slab's moisture content is within the range specified by your chosen product; excess moisture can cause bonding failure later.
3. Apply a primer
Most self-leveling compounds require a primer coat to seal the substrate (base) and control how quickly it absorbs moisture from the mixture. Allow it to dry fully as per the manufacturer's instructions.
4. Mix the compound
Follow the manufacturer's recommended water-to-powder ratio. This usually involves adding clean, cold water to a mixing bucket first, then gradually adding the self-leveling cement while mixing with a mixing paddle until smooth and lump-free. Use a heavy-duty drill, as standard household cordless drills may not have enough power for the job.
Avoid adding extra water, as this can weaken the compound and affect its strength and performance. Only mix as much as you can apply within the product's working time.
5. Pour and spread
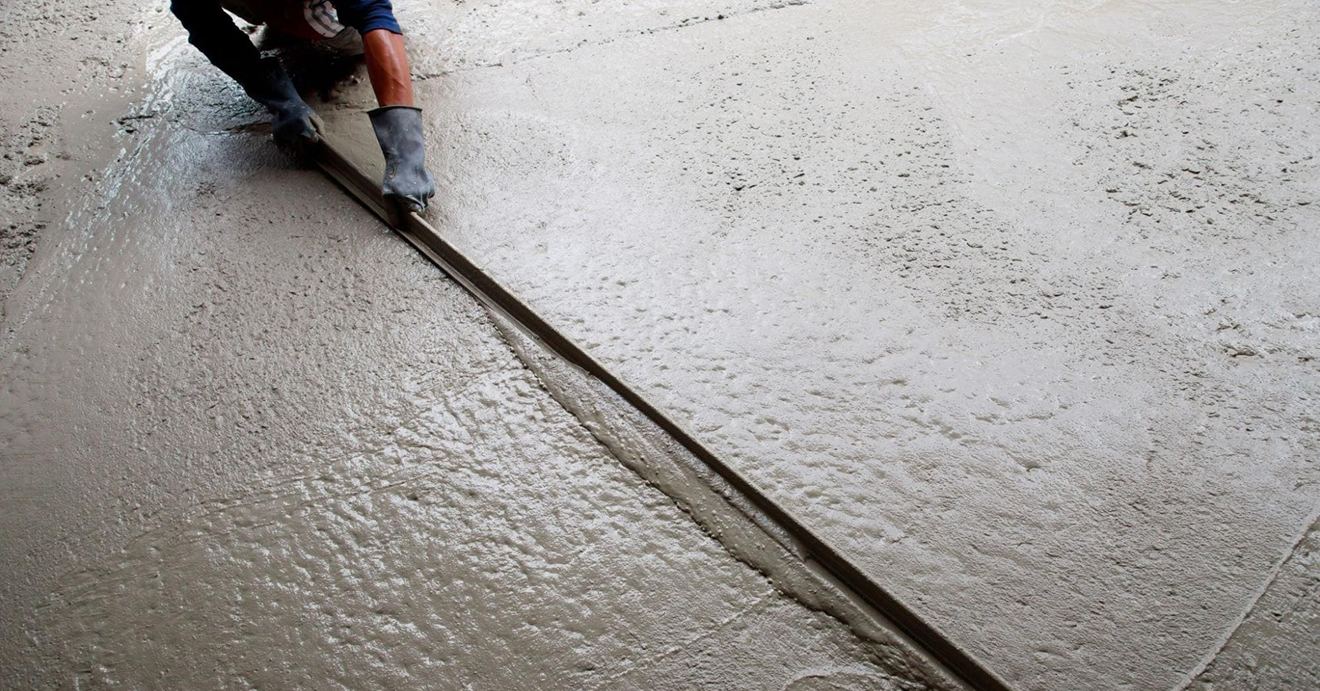
Start from the corner furthest from the doorway and work your way towards the exit. Pour the mixture onto the floor in sections, using a gauge rake to help guide it into edges and corners. The compound will then flow and level itself within minutes.
6. De-air the surface
Pass a spiked roller over each section while the compound is still wet to release trapped air bubbles. Repeat Steps 5 and 6 until the entire floor is complete.
7. Allow it to cure
Leave the area undisturbed for the manufacturer's specified setting time, typically a few hours before light foot traffic and 24 hours or more before installing the final floor covering.
8. Check the finished surface
Once cured, inspect for flatness, texture, and any pinholes that may need a light touch-up before flooring installation begins.
Minimum and Maximum Application Depth for Leveling Cement
The recommended application depth depends on the product, but here are some general guidelines:
- Feather edge (0mm): Many self-leveling compounds can be feathered to almost 0mm at the edges, allowing them to blend seamlessly into the existing floor.
- Standard application (1mm to 10mm): Most residential self-leveling compounds are designed to be applied within this thickness range in a single pour.
- Deeper applications (up to 25mm or more): Some fibre-reinforced or heavy-duty products can be applied at greater depths. Certain commercial-grade formulations can go even thicker, sometimes with added aggregate for extra support.
- More than 25 to 30mm: For very uneven floors, it's usually more practical to use a traditional screed or repair mortar first, then finish with a thinner layer of self-leveling cement.
Practical Tips for Applying Self-Leveling Cement
While self-leveling cement is designed to make floor preparation easier, a few simple best practices can make a big difference to the final result.
General Tips
- Read the product instructions first: Every self-leveling cement has its own mixing ratios, application thickness, and working time. Always follow the manufacturer's instructions, even if they differ from general advice.
- Buy a little extra material: It's better to have an extra bag than to run out halfway through the pour. Since the compound needs to be applied continuously, stopping midway just to buy more can ruin the finish.
- Get everything ready before you start: Have your tools, buckets, water, and mixing equipment prepared in advance. Once mixed, you'll typically have only 10 to 20 minutes to pour and spread the compound.
- Store the bags properly: Keep unopened bags indoors and off the ground to prevent moisture from affecting the product before use.
- Work in suitable temperatures: Avoid mixing or applying self-leveling cement in extremely hot or cold conditions, as this can affect how it flows and cures.
- Measure the water carefully: Use only the amount of water specified by the manufacturer. Adding extra water to make the mix easier to spread can weaken the finished surface.
- Don't overpour: Apply only as much compound as needed. If you accidentally pour too much, remove the excess while it's still wet before it begins to set.
- Clean up straight away: Wash your tools, buckets, and mixing equipment immediately after use. Once the compound hardens, it's extremely difficult to remove.
Tips for Different Types of Rooms
- Kitchens and bathrooms: Choose a moisture-resistant or waterproof-rated leveling compound where needed. Before pouring, seal gaps around pipes, the toilet flange, and the room's perimeter, and ensure any required waterproofing membrane is installed correctly.
- Living rooms and bedrooms: A standard residential-grade compound is usually suitable. Focus on achieving a smooth, even surface, especially if you're installing premium flooring such as engineered wood, vinyl, or SPC flooring.
- Hallways and entryways: These high-traffic areas benefit from a higher-strength or fibre-reinforced compound that can better withstand frequent foot traffic and heavier point loads.
- Commercial spaces: Select a heavy-duty, fast-curing product to minimise downtime while providing the strength needed for busy retail, office, or commercial environments.
Troubleshooting Common Self-Leveling Cement Problems
- Cracks after curing: This is often caused by applying the compound too thickly, skipping the primer, or pouring over an unstable subfloor. Follow the recommended application depth, always use a primer, and choose a fibre-reinforced product for deeper applications.
- Uneven or lumpy finish: Usually happens when the compound isn't mixed thoroughly or isn't spread before it starts to set. Mix until smooth and work in manageable batches.
- Bubbles or pinholes: Trapped air can create small holes in the surface if a spiked roller isn't used. Roll the compound while it's still wet, and lightly sand minor pinholes before installing the flooring if needed.
- Poor adhesion or lifting: This is commonly caused by dust, old adhesive, moisture, or skipping the primer. Make sure the surface is clean, dry, and properly primed before pouring.
- Slow or uneven curing: Too much water in the mix, cool temperatures, or high humidity can slow the curing process. Always follow the recommended mixing ratio and allow sufficient drying time before installing the finished floor.
- Visible ridges between pours: These usually form when one section starts setting before the next is poured. Work continuously and blend each section while it's still wet. If ridges have already dried, they can usually be ground down before installing the finished flooring.
Conclusion
After understanding what leveling cement is, you'll realise it's one of the most overlooked parts of floor preparation. Although it isn't visible once the flooring is installed, it provides a stable, level underlayment that helps prevent future problems and keeps your flooring performing at its best for years to come.
For premium flooring materials and end-to-end flooring solutions, contact our expert team at Averton. From subfloor preparation and self-leveling cement to the supply and professional installation of various flooring types, we'll help you create a floor that's not only beautiful today, but built to perform for years to come.
Frequently Asked Questions
1. What is the typical cost of leveling cement in Malaysia?
The cost depends on the brand, bag size, application thickness, and the condition of the existing floor. Most self-leveling compounds are sold in 20 to 25 kg bags, typically costing around RM60+ per bag, with coverage varying based on the depth applied.
2. Can you simply pour self-leveling cement onto the floor?
No. The subfloor should be clean, dry, and properly primed before application. Skipping surface preparation can lead to poor adhesion, uneven curing, or surface defects. Once prepared, the compound is poured and lightly guided where needed before it levels itself.
3. Can self-leveling cement be poured over existing concrete?
Yes, provided the concrete is structurally sound, clean, and free of major cracks or contaminants. Minor cracks should be repaired before application, while significant structural issues should be addressed first rather than covered with leveling compound.
4. Can self-leveling cement be applied over tiles?
Yes, provided the existing tiles are firmly bonded and in good condition. The tiles should be thoroughly cleaned, mechanically sanded if required, and primed with a suitable bonding primer before application. Any loose, hollow, or damaged tiles should be repaired or removed first to ensure a stable surface.
5. How long does self-leveling cement take to dry?
Most products can be walked on within a few hours, but full curing typically takes at least 24 hours. Drying time varies depending on the product, application thickness, temperature, and humidity, so always follow the manufacturer's recommendations.
6. When can you walk on or install flooring over self-leveling cement?
Light foot traffic is usually possible within a few hours, but flooring should only be installed after the compound has fully cured. Depending on the product and flooring type, this is typically at least 24 hours, although thicker applications may require longer.
7. Can self-leveling cement be used outdoors?
Most self-leveling cement products are intended for indoor use only. For outdoor areas or locations exposed to constant moisture, choose a specialist exterior-grade product designed to withstand weather and water exposure.


 WhatsApp Us